Managing Groups
Access to features in TeamFolio is controlled using a combination of permissions sets for groups of user accounts. We call these authorisation groups.
Permissions Required
To configure Authorisation Groups, the logged in user needs to be a member of the default Administrators Group. Users can only be added to this group by another Administrator.
Default Administrators Authorisation Group
The System Administrators Authorisation Group is automatically created when TeamFolio is first installed. The user account of the person installing TeamFolio is automatically added this group. Any additional user accounts that may have been included in the appsettings.config (or Azure app service control panel settings) will also be automatically added to the Administrators group during initial installation.
Note that any user accounts that have been included in the appsettings.config (or Azure app service control panel settings):
- can only be removed from the administrators auth group by removing the entries in the .config;
- are not automatically visible in the Manage Groups user interface. These accounts can be added by any administrator so they are visible in the UI, if that is required.
See the Default Admin Group article for more information on this.
Navigation
To configure Authorisation Groups, from the admin menu gear icon in the top right of the web page, navigate to Authorisation>Manage Groups:

- Click the cog icon at the top right of the page to open the admin menu ...
- ... then select the Authorisation menu ...
- ... then select the Manage Groups menu option.
NOTE: If configured, the menu options may display in the localised language you are using to access TeamFolio. For example: 'Authorisation' (British English); 'Authorization' (US English); 'Autorisierung' (German), etc.
Manage Authorisation Groups Page
The main admin page is split into two list view tables. The table on the left lists the Authorisation Groups that already exist. The table on the right will display the user accounts that are Members of the group that has been clicked in the left table.
When TeamFolio is first deployed, there will be ony one authorisation group. This is the Administrators system group and to begin with, there are no visible members of this system group (see the next section for more on this).

- The Administrators group has been selected (indicated by it being a blue-grey colour);
- Notice it cannot have its permissions updated, being a system authorisation group;
- In this example, one user is visible but there are actually 3 other TeamFolio administrators on this system. Their accounts are in the Azure app configuration (similar to appsettings.config file).
Adding user(s) to a group
After installation, any member of the Administrators Group can add other user accounts to any group, including the Administrators Group by selecting its row in the left table and clicking the Add button above the Group Members table on the right.
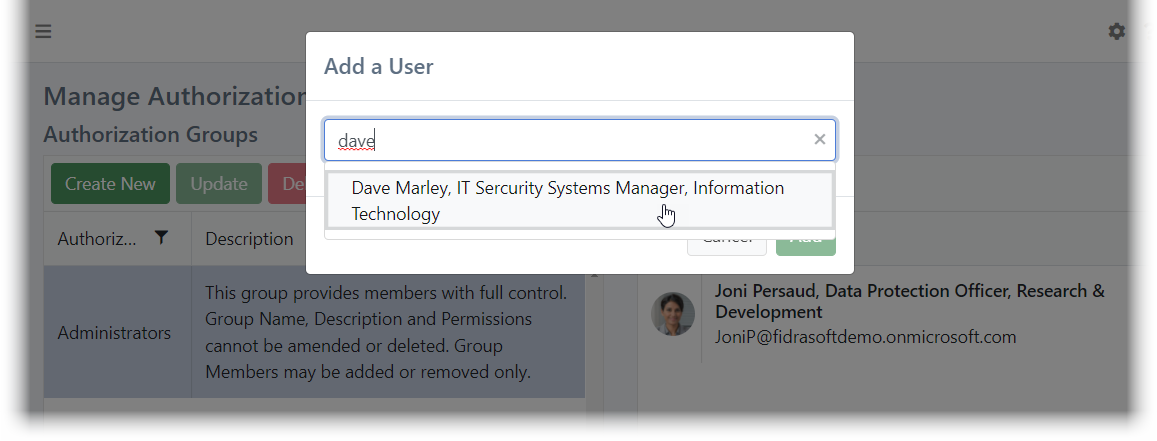
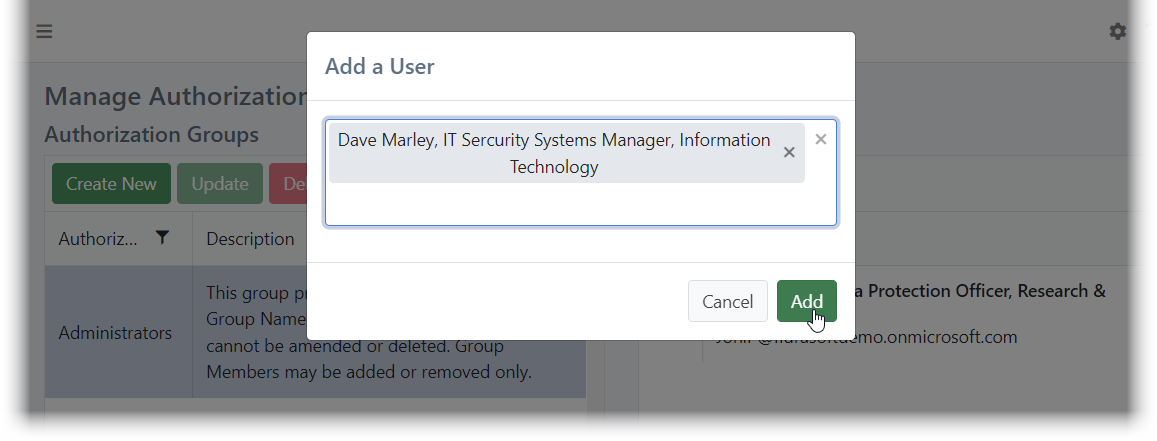
In the Add a User pop up window, start typing the name of the person to add. Note that you can add multiple people at a time. Once all users have been identified, click Add to confirm that these users should be added to this group.
With the appropriate group selected, click the Add button under Group Members:

In the modal pop up window, start typing the name of the user to add ...:
... then select the user's account and click Add:
In this example, Dave Marley has been added to the Administrators authorisation group. A temporary notification 'toaster' appears confirming the user has been added:

Removing user(s) from a group
Select the group in the left table then select the user(s) in the right table and click Remove. A pop up window will appear asking you to confirm removal of the user(s) from this group:
Select the user to be deleted from the Group Members table and click Remove:

You will be prompted to make sure you actually want to carry out this action. To delete this user's membership of this group, click Delete:

Creating & Updating Authorisation Groups
In reality, it's likely you'll want to create a number of different groups to cater for different roles for configuring TeamFolio and helping manage the data your team creates.
Creating a new group or updating an existing group is carried out in exactly the same way. For each authorisation group, you give it a neam, a description and then set each privelege that members of the group will have.
The following example shows a notional Information Architects group:
Click Create New, or select an existing group and click Update:

Here is the configuration screen for updating (or creating) an authorisation group, in this case the Information Architects group:
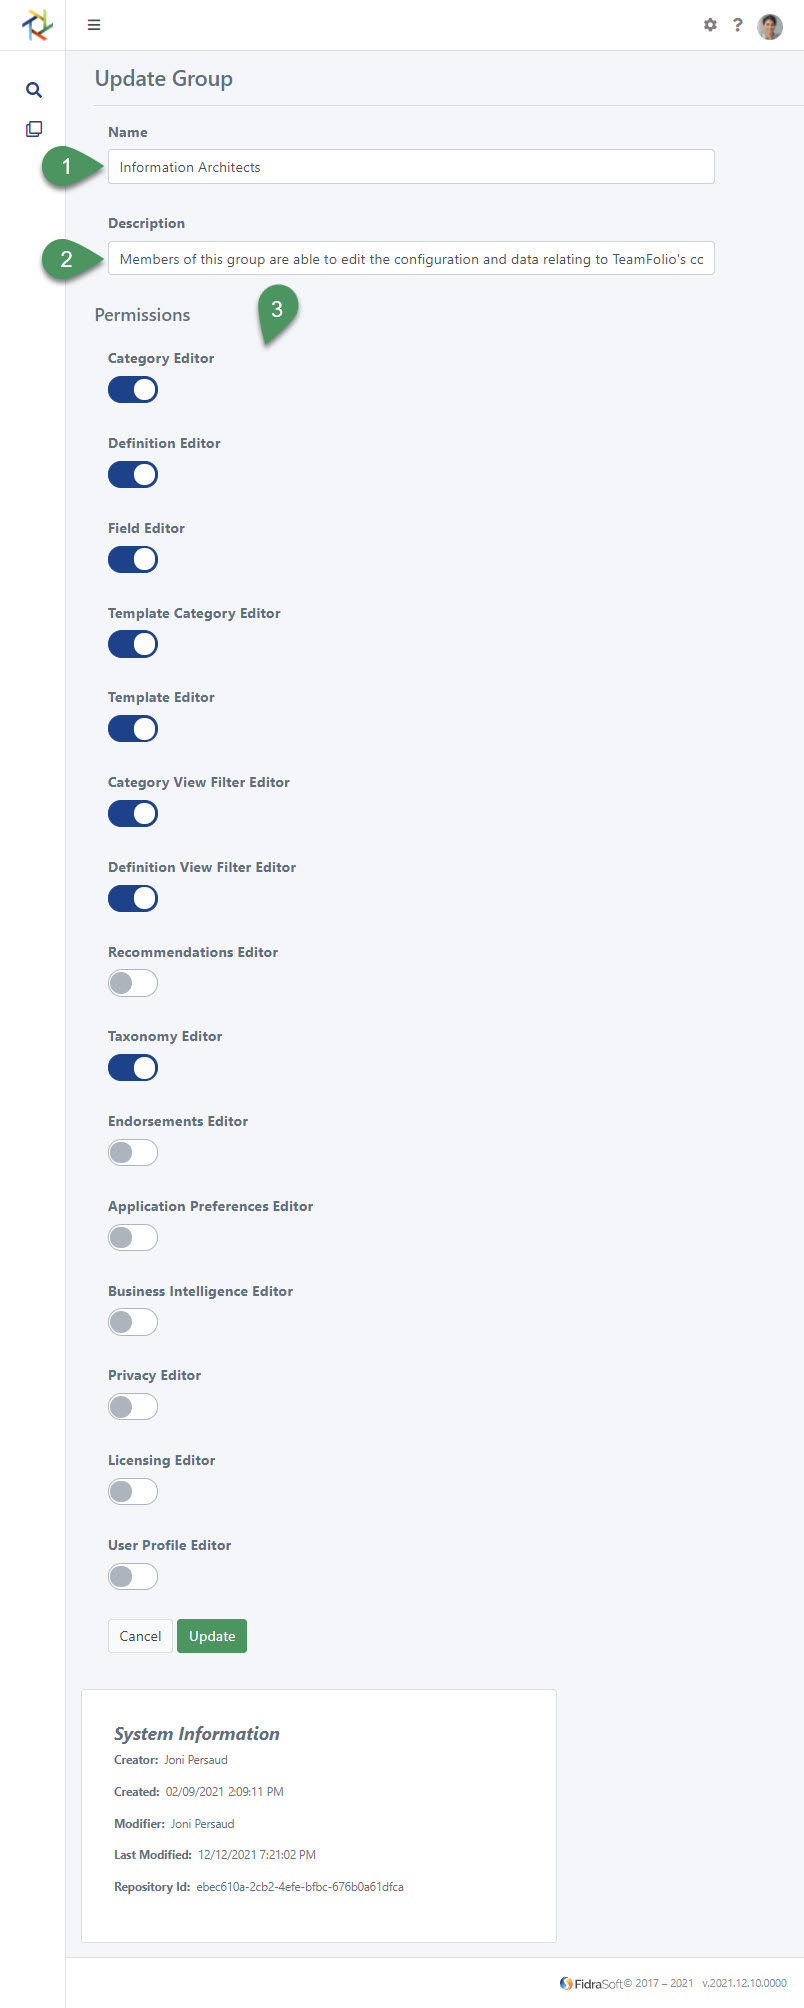
- Text field for adding/editing the group's name;
- Text field for adding/editing a description of the group's purpose;
- Toggle switches to enable or disable permissions for this group. :::
See the Group Permissions article for more information on each of the permissions that can be applied and what they provide.
Managing Group Membership by User
It is also possible to manage authorisation groups for a specific user. See the User Permissions article for more information on this.